
6 Tips For Digital Painting
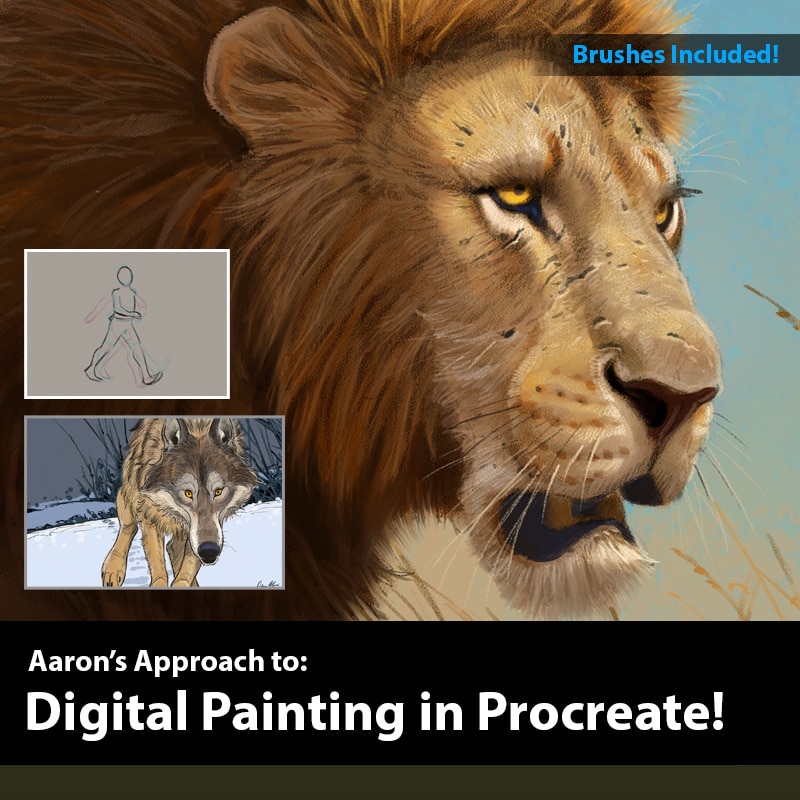
Hi everyone, my name is Aaron Blaise, and I’m here to talk about my process for digital painting. Over the years, I’ve developed a method that works well for me, and I want to share it with you. In this article, I’ll take you through the six steps I follow for every digital painting I create. Let’s get started!
Step One: Rough Sketch
The first step in my process is creating a rough sketch. I like to keep things loose and quick at this stage. My goal is to capture the basic shapes and forms of the subject, without getting too bogged down in the details. I use a digital tablet and stylus to create my sketches, but you can use whatever method works best for you.
Step Two: Refined Drawings
Once I’m happy with the rough sketch, I move on to the refined drawing. This is where I start to refine the details and add more complexity to the image. I spend more time on this stage, and I try to make sure everything is in proportion and that the anatomy and perspective are accurate. This stage is all about laying a solid foundation for the rest of the painting.
I might also using shading to start to think about the lighting and shadows, which will be important in the later stages of the painting.
Step Three: Local Color
After the refined sketch, I move on to the local color stage. This is where I lay down the base colors for the subject. I try to match the colors as closely as possible to the subject I’m painting. I use a separate layer for this, so I can easily make changes if needed.
I use this stage to establish the character’s color palette and to make sure that everything is consistent and harmonious.
Step Four: Shadows
Now it’s time to add some depth and dimension to the painting by adding shadows. This is where digital painting really shines, because you can change the blend mode of your layer to multiply, which creates a shadowy feel over the base colors. I like to keep my shadows warm, to avoid a grayed-out look. I think about where the light source is coming from and where shadows would naturally fall on the subject. I add shadows on a separate layer, so I can easily adjust them later if needed.
Step Five: Light & Highlights
Once the shadows are in place, it’s time to add light. I create a new layer on top of the shadows layer and set the blend mode to overlay. This creates a lighting effect that brightens up the areas that are hit by light. I keep the lighting warm to match the shadows, and I think about where the light would naturally fall on the subject. This step really makes the painting come alive and pop.
This is where I tend to start to play around with the color temperature to create a more dynamic lighting effect. Oftentimes, I also use this stage to add some reflected light to the character’s eyes or other surfaces, which can help to sell the realism of the piece.
Step Six: Refining Details
The final step in my process is refining the details. This is where I add all the finishing touches, like texture, highlights, and color adjustments. I create a new layer on top of all the other layers and start adding in the small details that bring the painting to life. I pay attention to the subtle details that make the subject look more realistic, like fur texture and reflections in the eyes. This step really allows me to make the painting my own and add my personal style to the piece.
And there you have it! These are the six steps I follow for every digital painting I create. I hope you found this helpful and that it inspires you to try out digital painting for yourself. Remember, the most important thing is to have fun and experiment with different techniques. Happy painting!
More Drawing & Painting Lessons ON SALE!
-

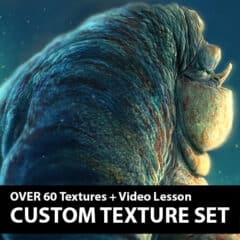
Creature/Elephant Skin Texture Pack (+ Video)
Sale! Original price was: $20.00.$10.00Current price is: $10.00. Add to Cart -
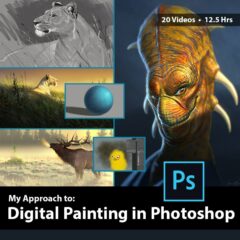
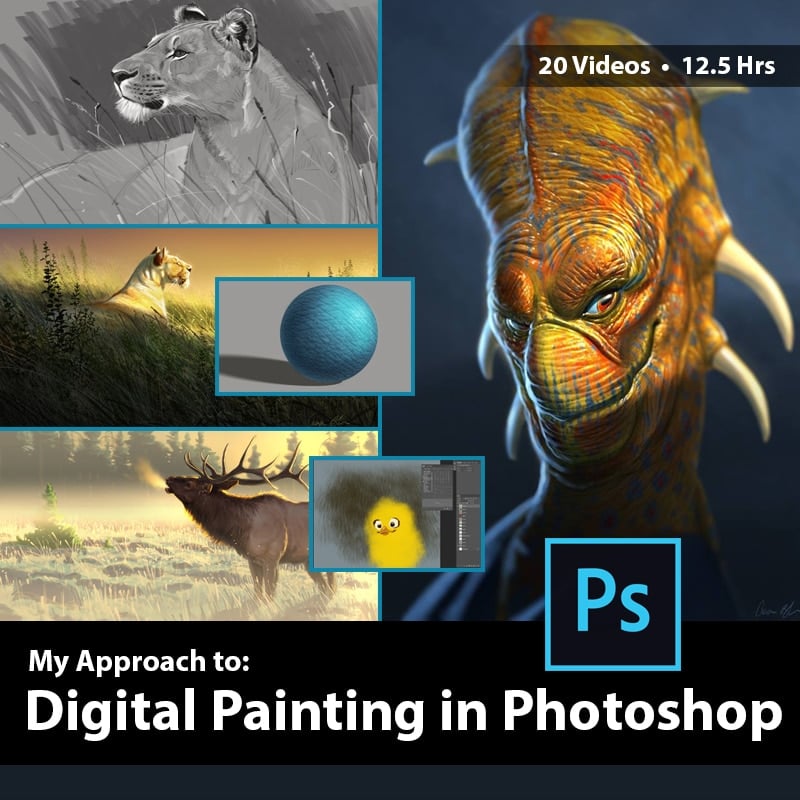
Digital Painting in Photoshop with Aaron Blaise
40%Original price was: $75.00.$45.00Current price is: $45.00. Add to Cart
Off! -
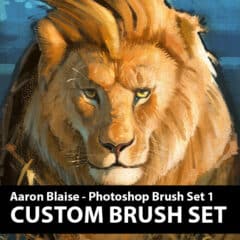
Custom Photoshop Brushes – Set 1
Sale! Original price was: $5.00.$3.00Current price is: $3.00. Add to Cart -
Streaming Membership Plan
$9.99$14.99$9.99 / month Add to Cart -
Annual Premium Membership
$99Original price was: $249.00.$150.00Current price is: $150.00. / year Add to Cart
OFF!Sale ends in0 0 4Days1 3Hours4 6Minutes4 4Seconds -
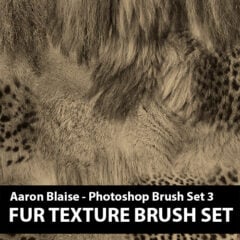
Custom Photoshop Brushes – Set 3 (Fur Texture)
Sale! Original price was: $5.00.$3.00Current price is: $3.00. Add to Cart -
Aaron Blaise Photoshop Foliage Brush Set
Sale! Original price was: $10.00.$5.00Current price is: $5.00. Add to Cart -
Custom Photoshop Brushes – Set 2 (Elephant Texture)
Sale! Original price was: $5.00.$3.00Current price is: $3.00. Add to Cart -
How to Draw Animals Course – Big Cats
40%Original price was: $75.00.$45.00Current price is: $45.00. Add to Cart
Off! -
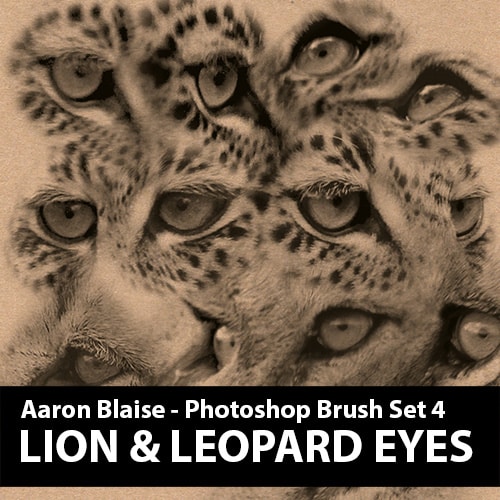
Custom Photoshop Brushes – Set 4 (Lion & Leopard Eyes)
$1 Original price was: $2.50.$1.00Current price is: $1.00. Add to Cart -
Custom Photoshop Brushes – Directional Hair / Fur Volume 2
Sale! Original price was: $10.00.$5.00Current price is: $5.00. Add to Cart -
Aaron Blaise Custom Photoshop Water Brushes
Sale! Original price was: $5.00.$3.00Current price is: $3.00. Add to Cart -
Custom Photoshop Brushes – Set 5 (Directional Fur Brushes)
Sale! Original price was: $10.00.$5.00Current price is: $5.00. Add to Cart -
Aaron Blaise Custom Photoshop Wet Media Brushes
Sale! Original price was: $5.00.$3.00Current price is: $3.00. Add to Cart -
How to Paint Water 1 – Waves
$5 Original price was: $15.00.$5.00Current price is: $5.00. Add to Cart -
How to Draw Horses Course
40%Original price was: $65.00.$39.00Current price is: $39.00. Add to Cart
Off! -
Photoshop Canvas Texture Brushes
Sale! Original price was: $5.00.$3.00Current price is: $3.00. Add to Cart -
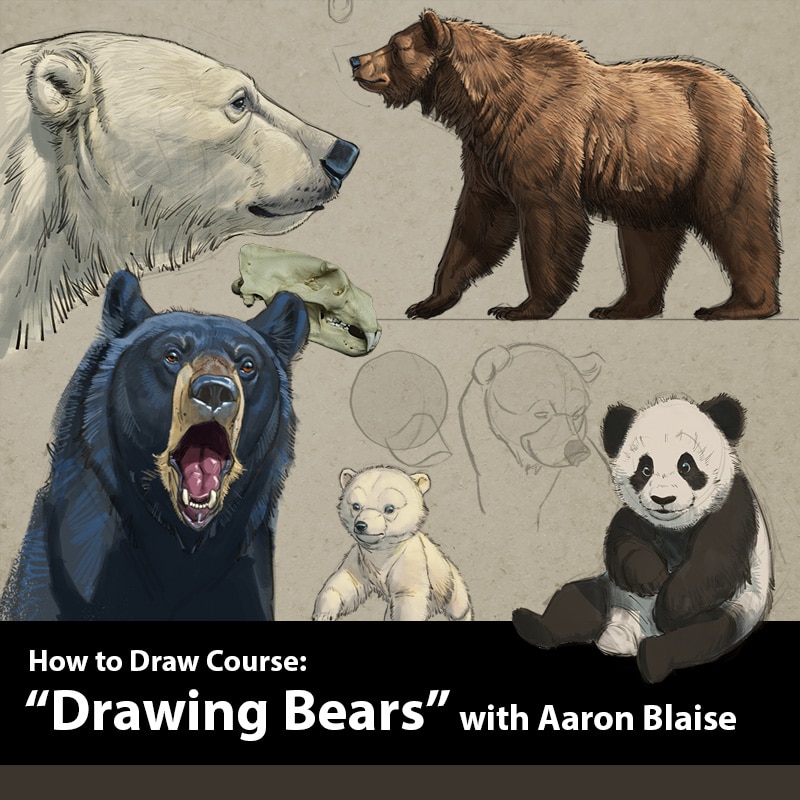
How to Draw Bears with Aaron Blaise
40%Original price was: $75.00.$45.00Current price is: $45.00. Add to Cart
Off! -
Painting Clouds in Photoshop 1
40%Original price was: $15.00.$9.00Current price is: $9.00. Add to Cart
Off! -
Aaron Blaise Custom Photoshop Cloud Brushes
Sale! Original price was: $5.00.$3.00Current price is: $3.00. Add to Cart -
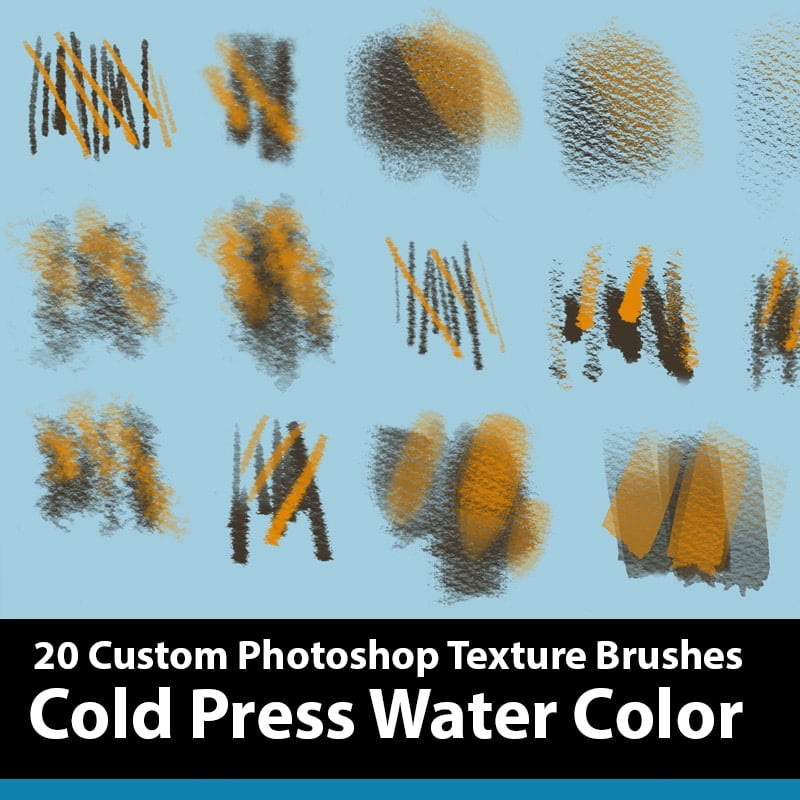
Cold Press Watercolor Texture Brushes
Sale! Original price was: $5.00.$3.00Current price is: $3.00. Add to Cart -
Creating Photo Real Creatures in Photoshop 1 – The Frogman
40%Original price was: $15.00.$9.00Current price is: $9.00. Add to Cart
Off! -
Painting Photo Real Creatures in Photoshop 2 – The Forest Queen
40%Original price was: $15.00.$9.00Current price is: $9.00. Add to Cart
Off!


We offer 3 Great Ways to Learn! First, you can purchase any ART LESSONS a la carte. Or you can become a Monthly Streaming Member and get immediate access to over 450 hours of art lessons that you can stream on your computer, phone, tablet or SmartTV. Finally, you can become an ANNUAL MEMBER and get hundreds of hours of video lessons to keep and download.
Lesson Previews:
The videos below are selected lessons from various courses.
These represent just a small portion of the 600+ hours of animation lessons, art tutorials and more available with our membership plans.
Get Immediate Access to All this Great Content + More!


“I was trained by Aaron Blaise. Aaron is Awesome!”