The first thing to do when beginning any animated scene is to thumbnail. Thumbnailing is to do little drawings exploring the posing and acting of a character in a scene. Here are some from early in my career.

In the movie Beauty and the Beast one of the sequences I animated was Beast in front of the fireplace having been wounded by the wolves. Belle is trying to clean his wounds and they get into a fight. I spent three weeks figuring out the sequence before doing any animation. I did piles and piles of thumbnails working closely with Glen Keane.

Continue reading The first thing to do when beginning any animated scene is to thumbnail. Thumbnailing is to do little drawings exploring the posing and acting of a character in a scene. Here are some from early in my career.

Old Animation Design Drawings

In packing my home, I’ve come across some old animation design drawings I’ve done over the years. These particular drawings are from Aladdin, The Lion King, Mulan, and Brother Bear

These are a few life drawings I did of tigers in preparation for creating Rajah from Aladdin

The next few were from early in the design process

Here is where I finally hit the design that ended up in the film.

These are few life drawings I did from lions that were brought into the studio at the beginning of production on The Lion King

These next few sets of drawings I did were from the design process of creating Young Nala

These drawings are from creating the Ancestral Ghosts from Mulan

These were little pen and marker thumb-nails I created in trying to find different compositions for a mountain climbing scene in Brother Bear.

The Legend of Tembo – Here are some concept paintings and character designs I created during the Development of The Legend of Tembo

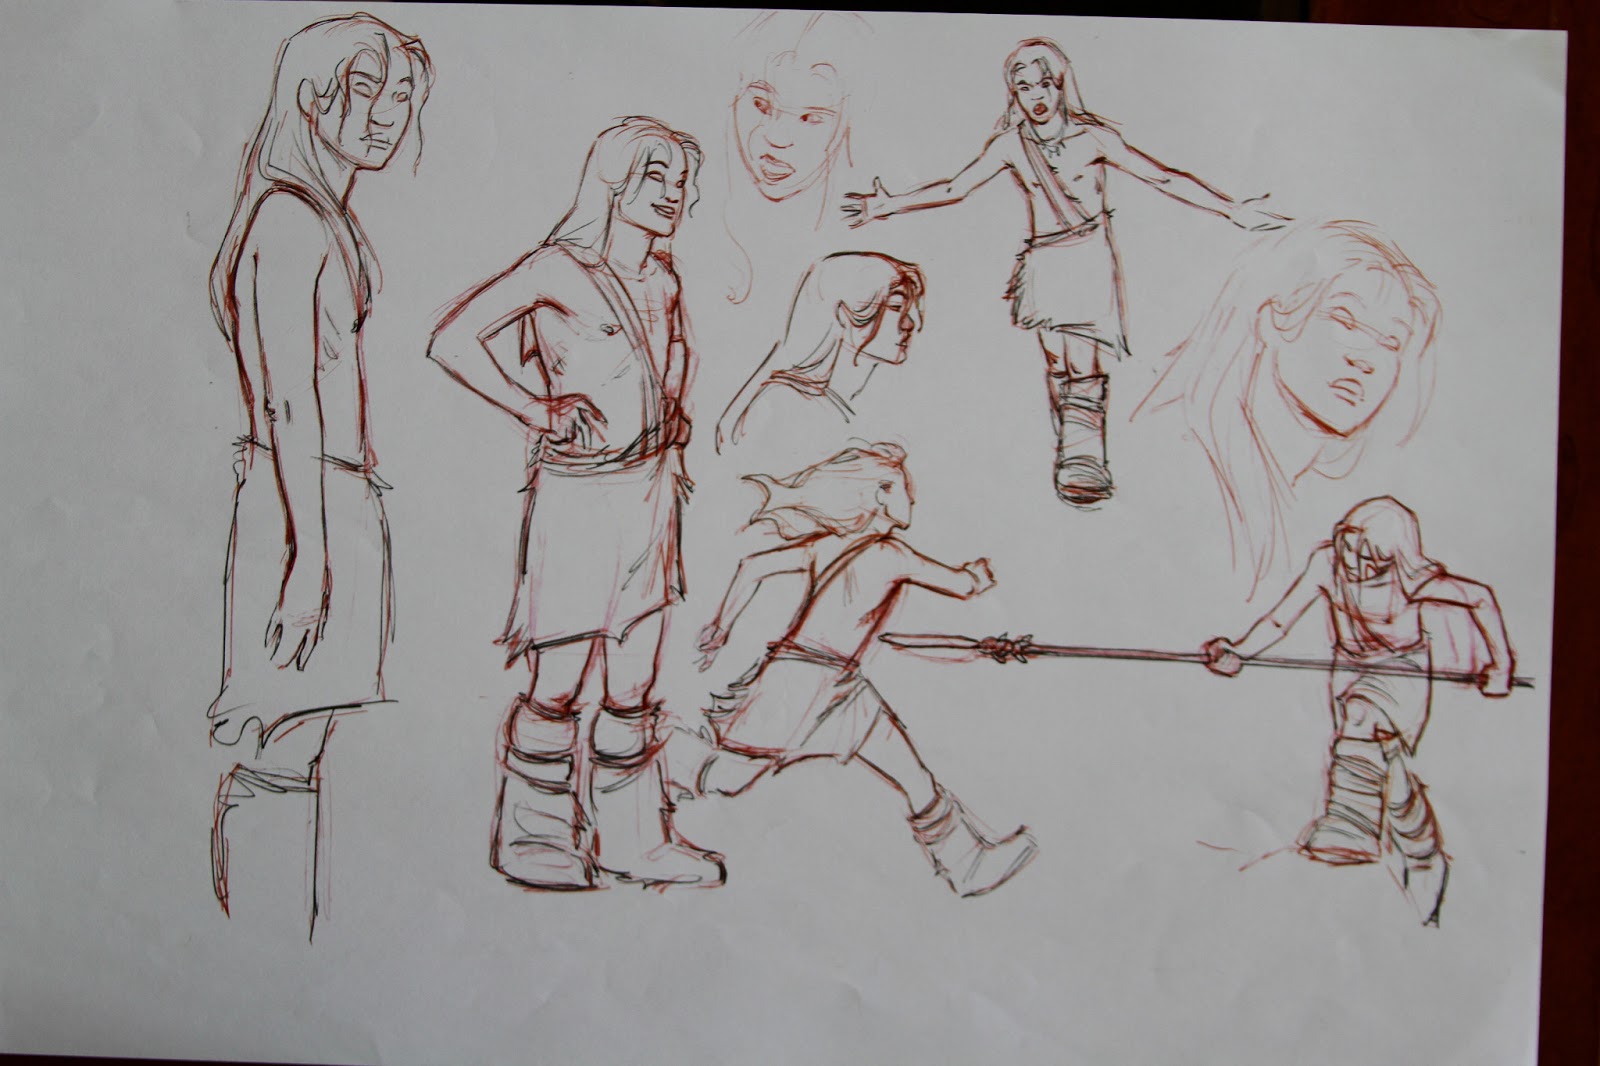
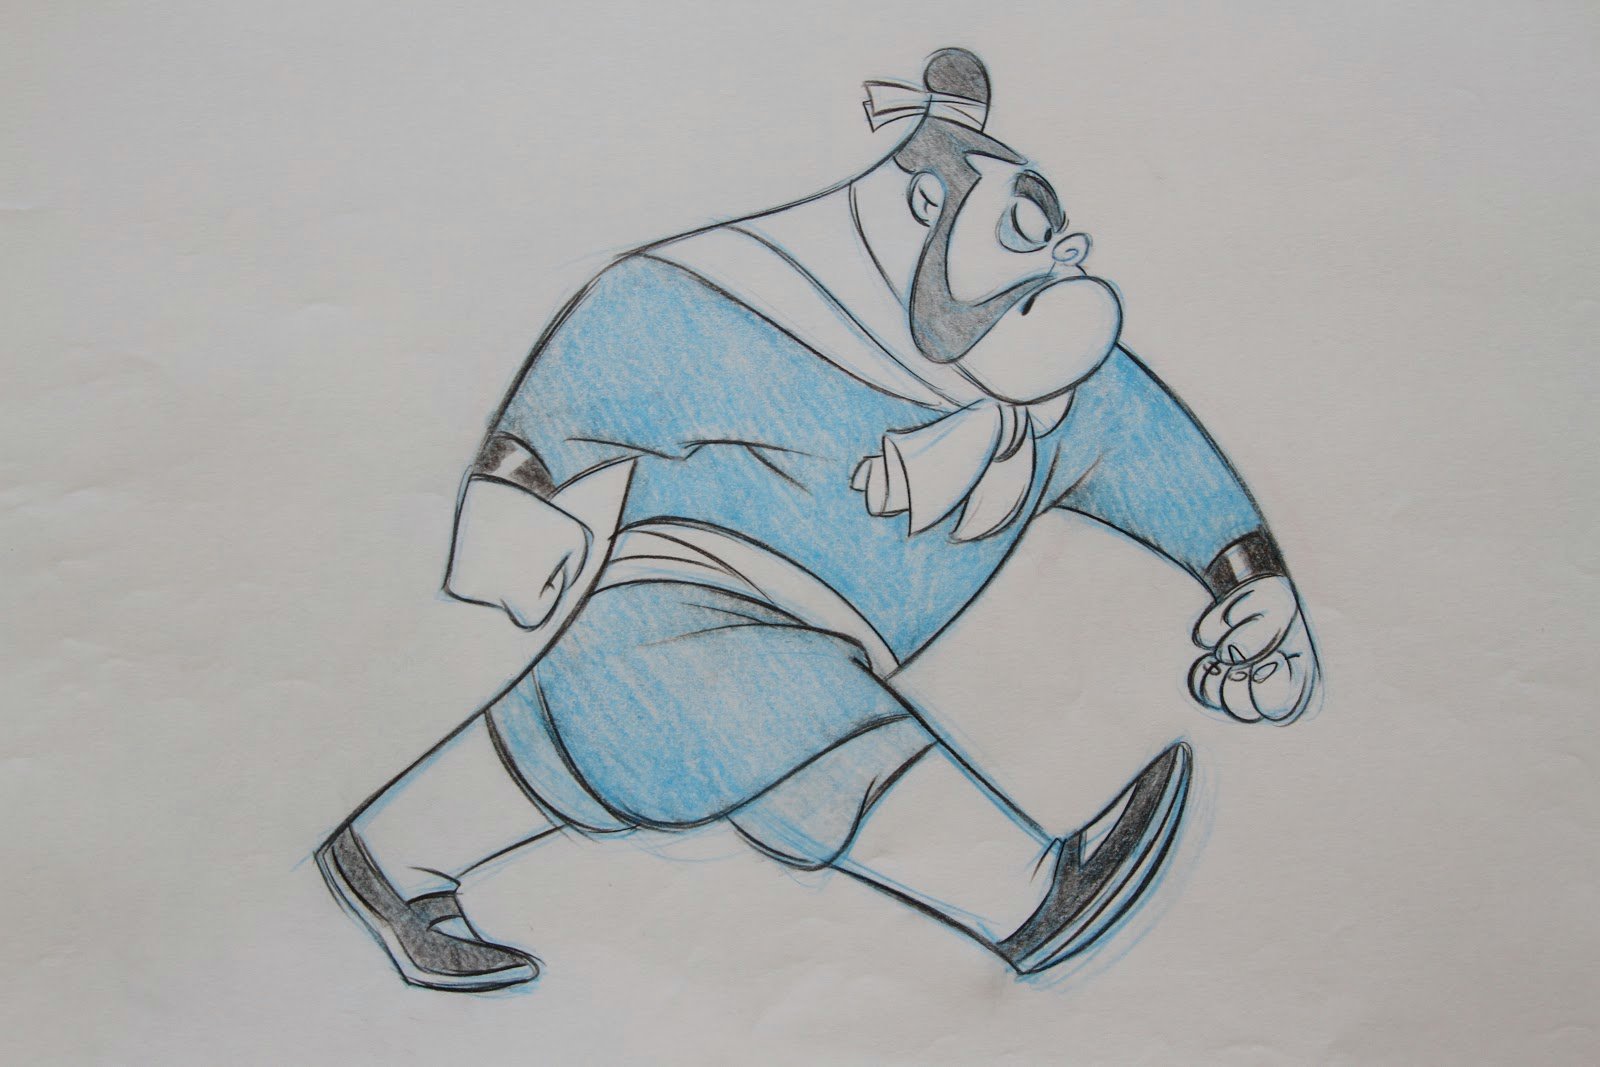
These images are from a film I was co-directing called “The Legend of Tembo”. I am always deeply involved in the design of the films I am directing. I try to create the images that I am trying to explain to people on the crew. I feel it is much better to show than to explain. It gives a clearer picture to the Art Director, modelers, lighters, and animators. This cuts down tremendously on the number of iterations needed to achieve whatever it is we are shooting for this in turn eases the impact on the budget of the film.

Legend of Tembo Pencil Test

Here is a pencil test I did early in the development of “The Legend of Tembo”. I wanted the riggers and animators to see what I had in my head as far as movement and personality for young Tembo:


Here are a few old Mulan designs I found…

Here are a few drawings from when I was doing some design work at that beginning of Mulan. I ultimately was the supervising animator for Yao and the Ancestors but I helped on a number of different things in the beginning. These were a lot of fun. I especially enjoyed the charcoal. This is not even a fraction of the hundreds of drawings I did.

Here is a new oil painting I just completed as a commission for a private client. I’ve included a step by step process. .

It starts with me doing a digital comp in photoshop. I can easily work out all of my compositional problems at this stage.

I then print out my image and grid it so that transfer to the large canvas is quicker and easier. I grid the canvas the same way and begin to transfer the drawing.

Ugh!! A blank canvas…such a long road ahead!

Beginning to draw in charcoal pencil. I use charcoal pencil so that I am able to produce details in the drawing. I like to get as much information in the drawing as possible before I start to paint. Notice the grid on the canvas.

Continuing on the drawing…

The finished rough sketch on the canvas. Although I want a fair amount of detail in the drawing, I’m not trying to make it look pretty at this point.

This next step is very important to me. After sealing the drawing with Final Fixative, I then tone the canvas with an underpainting. I like to rough in the basic color of what the objects in the painting will ultimately be. I do this for two reasons: 1. If for some reason I neglect to cover a small portion of canvas, I won’t have glaring white showing through, but most importantly, 2. It knocks the white of the canvas down into the midtone range. When painting on a midtone you can more easily judge the lights and darks that you’re applying.

Now it’s time to start painting. Here I’ve started with the face of the male lion.

I continue into the mane. Notice that I apply my darks first then work lighter.

As the head of the lion began to develop, I felt it was time to start laying in the background to get the lion to sit in it’s environment.

I then jump back to the lion and continue with the mane and roughing in his body.

Here I’ve gone back to the background to lay in more savannah. Also, notice that I’m starting to build up color and texture, particularly in the body of the male lion. When I rough in an area, I like to let it set for a day or two and dry. I then can start to scumble other colors over the roughed in area. I particularly like to play with color temperature at this stage. This builds volume, texture, color and just generally makes the area more interesting to look at.

After adding more texture and interest to the background, it’s time to start work on the lioness.

I continue working on the lioness, but I’m also starting to jump around the painting at this point. Colors going into the lioness will get scumbled into the male’s body and vise versa. I’m also continuing with the mane.
Here I’ve finished with the lioness and have gone onto the finishing touches in the foreground and background grasses.

Here I am putting some of the finishing touches on the grasses. I particularly like this shot because it shows off the texture of the painting itself. I like paintings to have brush and paint texture. I actually like to run my hands over the painting after it’s dry.

Here I’ve posed with the painting thinking I was done. The next day though after looking at it, I decided to add a few more darks in the tall sprigs of dried grass.

“Protecting the Queen” 36″X48″ Oil on Canvas